
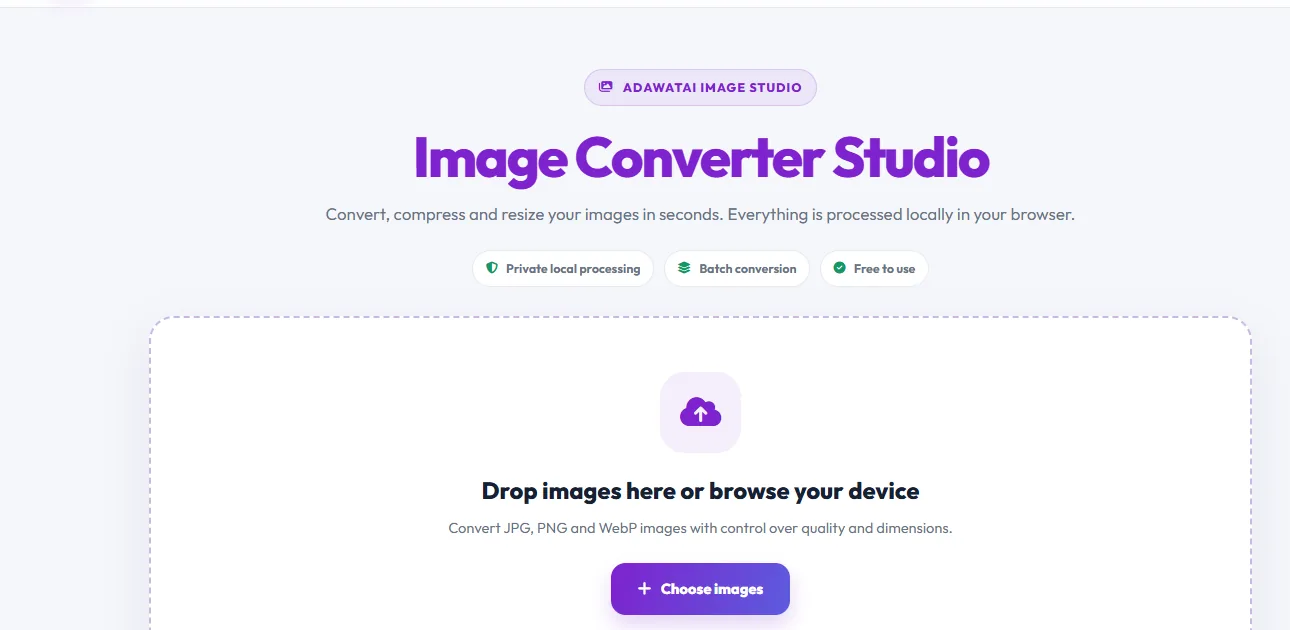
Are you struggling with large image files when uploading them to your website or sharing them online? Do you need a simple way to reduce image size without a major loss in visual quality?
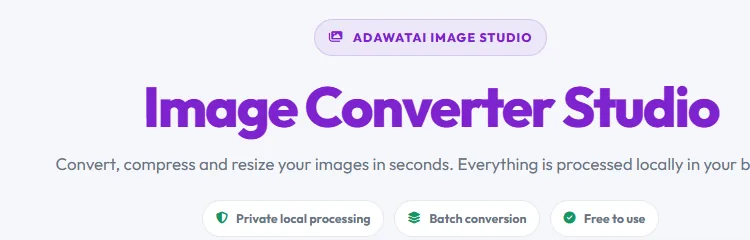
You can now compress and convert images easily with ADAWATAI Image Converter Studio, a free tool that works directly in your browser, with no software installation and no account required.
The tool lets you compress images, convert between JPG, PNG and WebP, control image quality and dimensions, process multiple files in one batch, and download the results individually or as a ZIP file.
Most importantly, your image files are processed locally in your browser and are not uploaded to ADAWATAI servers.
Try the tool now:
https://www.adawatai.dev/tools/image-converter.html
What is image compression, and why do you need it?
Image compression is the process of reducing the size of an image file while trying to preserve a suitable level of visual quality.
For example, a photo taken with your phone or downloaded from the internet may be several megabytes in size. That can make it less convenient to upload, share or use on a website.
Image compression can help you:
- Reduce the storage space used by images.
- Speed up image uploads and sharing.
- Reduce the size of pages that contain many images.
- Improve the loading experience for website visitors.
- Prepare images for online stores, blogs and social media.
- Convert images into formats suited to the web.
It is important to remember that image compression does not always mean losing quality. The result depends on the image format and compression settings.
What makes ADAWATAI Image Converter Studio useful?
We designed the tool to be easy to use, whether you are a beginner or regularly work with images and digital content.
Here are its main features:
1. Compress and convert image formats
You can choose among three main formats:
- JPG: Suitable for photographs and images with many colors.
- PNG: Suitable for logos, graphics and images that need a transparent background.
- WebP: A modern format that often creates smaller files for websites.
2. Control image quality
The tool gives you a dedicated quality slider.
You can increase quality to retain more detail or lower it to reduce file size.
Quality settings apply to JPG and WebP. PNG is exported losslessly.
3. Resize images
You do not always need to keep an image at its original dimensions.
The tool lets you choose a maximum image dimension to prepare images for websites and other uses while preserving the aspect ratio.
4. Process multiple images at once
Instead of converting each image separately, you can add several images and process them in one batch.
The tool currently supports:
- Up to 30 images per batch.
- A maximum of 25 MB per image.
- A maximum combined selection size of 150 MB.
5. Download images individually or together
When processing is complete, download each image separately or collect all results in one ZIP file.
6. Privacy during image processing
One of the tool's key features is that image processing happens locally in your browser.
You do not need to upload your images to an external server to convert them, which helps protect the privacy of your files.
How to compress images with ADAWATAI step by step
You do not need technical experience to use the tool. Follow these steps:
Step 1: Open the image compressor
Visit the following link:
https://www.adawatai.dev/tools/image-converter.html
The main interface will appear, and you can start selecting your images.
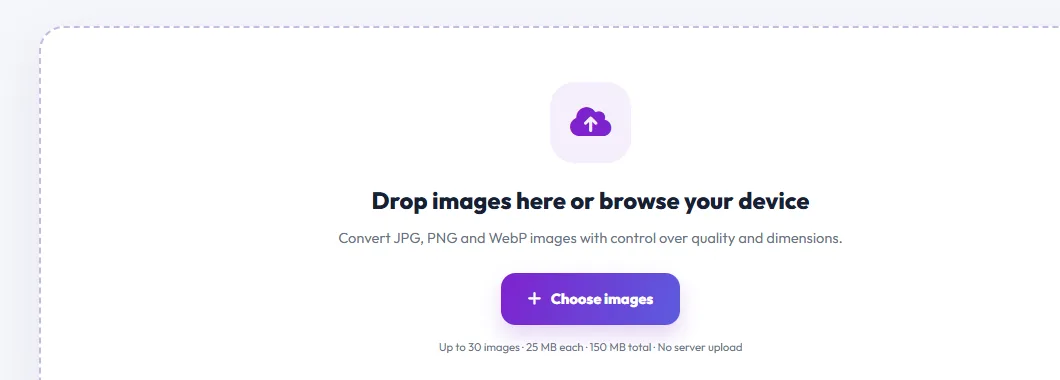
Step 2: Select the images you want to compress
Click the image selection button, then choose the images from your device.
You can also drag and drop images directly into the upload area if your browser supports it.
You can add multiple images at the same time.
Step 3: Choose the output format
After selecting your images, the conversion settings will appear.
Choose the output format you need:
- JPG.
- PNG.
- WebP.
If you need images for websites, try WebP and compare the resulting file size with the original.
Step 4: Adjust quality and dimensions
Use the quality slider to choose the compression level.
You can also select the maximum image dimension according to your needs.
If you want to keep the original dimensions, choose the original-dimensions option.
Tip: avoid lowering quality too much, especially when preparing images for an online store or professional website.
Step 5: Start converting and compressing
When your settings are ready, click the Convert & Compress All button.
The tool processes images one by one, and you can follow the operation using the progress indicator.
Step 6: Review and download the results
When processing is complete, you will see the original file size, the new file size and the amount saved when the output is smaller.
You can download each image individually or download all converted images in a ZIP file.
Keep in mind that some converted images may become larger, depending on the source image, output format and settings.
The screenshots in this article are cropped from the interface screenshot you provided and show only the elements visible in that source image. Some interface details may change as the tool is updated.
Which format is best for image compression: JPG, PNG or WebP?
The best format depends on the type of image and how you plan to use it.
| Format | Best for | Advantages |
|---|---|---|
| JPG | Photographs | Suitable file sizes and adjustable quality |
| PNG | Logos and graphics | Lossless export and transparency support |
| WebP | Website images | Efficient compression and transparency support |
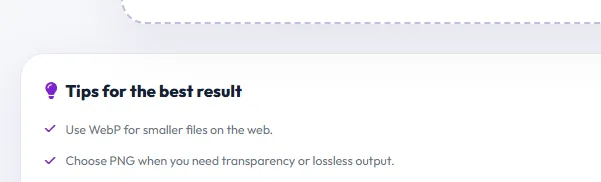
Our tip: If you manage a blog or website, try WebP for suitable images. Use PNG when you need transparency or lossless graphics.
Tips for getting the best results when compressing images
Here are some practical tips to help you get good results:
- Do not choose the lowest quality setting just to get the smallest file.
- Choose WebP when it fits your web workflow.
- Use PNG for logos and images that need transparency.
- Avoid keeping huge dimensions when an image will appear small on the page.
- Compare the original file size with the converted result.
- Keep an original copy of important images before editing.
- Review the converted image to make sure details and colors still look right.
Note: Exporting images through the browser may remove some EXIF metadata.
Is ADAWATAI's image compressor free and safe?
Yes. The tool is free to use and does not require an account or software installation.
For privacy, image files are processed locally in your browser and are not sent to ADAWATAI servers.
You can use it on a computer, phone or tablet with a modern browser that supports the required features.
Frequently asked questions about online image compression
Can I compress images for free without installing software?
Yes. You can use ADAWATAI directly in your browser without installing a program.
Does image compression reduce quality?
JPG and WebP may lose some quality depending on the settings. PNG export is lossless.
Can I compress several images at once?
Yes. You can add up to 30 images in one batch, within the stated size limits.
Can I convert PNG to JPG?
Yes. Choose JPG as the output format. Keep in mind that JPG cannot preserve a transparent background.
Can I convert JPG to WebP?
Yes. Select WebP in the format settings and start the conversion.
Are my images stored on the website's servers?
No. Your image files are processed in your browser and are not uploaded to ADAWATAI servers.
Can I use the tool on my phone?
Yes. The tool is designed to work in modern mobile, tablet and desktop browsers.
Does converting an image always make it smaller?
Not necessarily. The result depends on the original file, its format and the conversion settings. Review the final size before downloading.
Try ADAWATAI's free image compressor now
You no longer need to install complicated software or move between different websites to prepare your images.
With ADAWATAI Image Converter Studio, you can compress images, convert formats, resize files and manage multiple images from one simple interface.
Whether you are a blogger, online store owner, designer or content creator, the tool can help you prepare images for digital use.
Start now and compress your images for free!
Open the image compressor nowADAWATAI — free tools and creative resources for everyone.